Before you start editing you will need to login into a mac allocated to the media block you are in, in our case we are in 'a' block and so the username would be mediaa. This system is used so none of our files are merged with other classes work. This idea is also god as if one of the group members don't show up then the other members are easily able to login and proceed with the work. Once you have logged in and are ready to start editing you simply follow the rest of the guide.

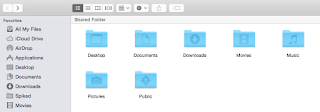
What you do first is insert the SD card into the back of the mac in the SD port. Once the card is inserted you then go in to the 'movies' folder because everything in this folder is backed up and then you are not at risk of loosing your work.
When you have clicked on the movies folder, you need to create your own folder inside it and name it appropriate to your work. If you have done this then you should have no trouble in finding your work.
If you need more than one folder so that you can more thoroughly arrange your files than this is not a worry, you can quite simply click 'new folder' and add clips you have filmed on separate days to keep your work organized. In our group we had a folder allocated to PG Tips so that we were easily able to find our clips.

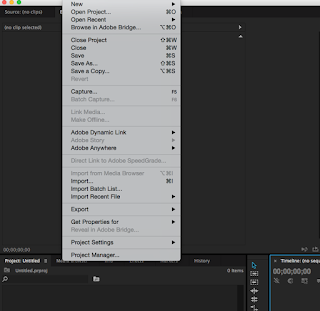
After all your clips are neatly organized you can quite simply go into premier pro, click file>import and drag over clips which you are wishing to use. After everything is imported onto premier pro then you can drag each clip separately into the correct order. There are also folders in premier pro called bins which is a place to keep both audio and footage.

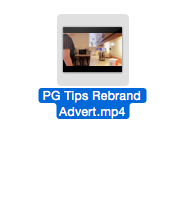
For this guide we will show you how to drag the rendered version of the advert into premier pro and then you go to file import, import the rendered video and it will show in media window.
This is the rendered file ----->
All the clips will be arranged into the media folder down the bottom left and once moved onto the timeline you are able to cut down the clips so that it is correctly adjusted to how you want it.
In premier pro there are two different tracks for both audio and video, it is possible to add in different effects such as fade ins, black outs etc.

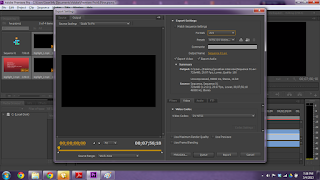
When you are happy with your edit you then proceed to file>export and this will render the video so that everything is placed together to prevent clips from moving. After the import is finished then you are able to edit the contrast/color etc to touch up the finished piece. We didn't have to enhance brightness/color or anything in ours so we left it how it was.


No comments:
Post a Comment